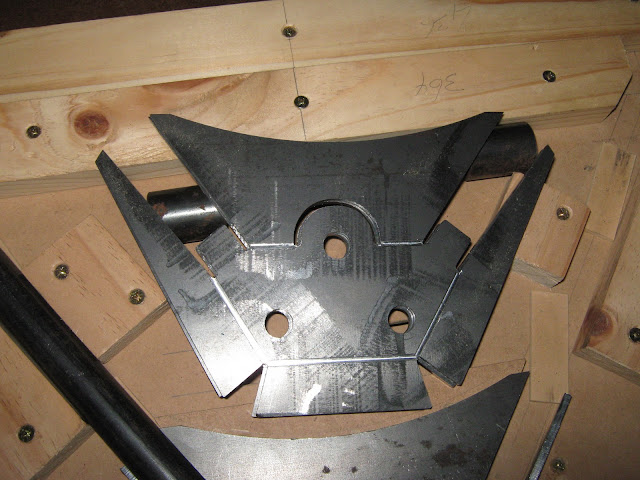
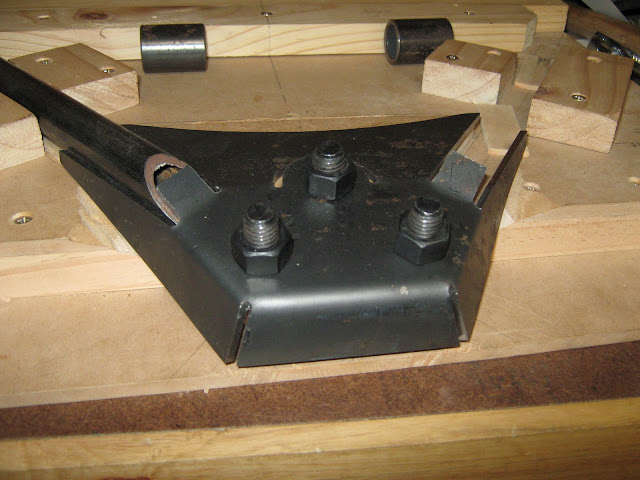
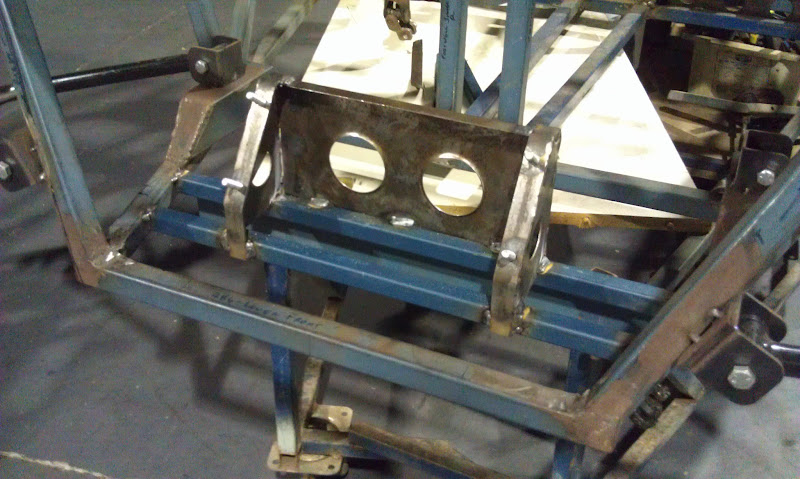
April 2011 - After several iterations, got to a final design for the rear wishbone balljoint plates. Here they are CNC cut with slight grooves to assist vise bending; and one folded and bolted into the wishbone jig.


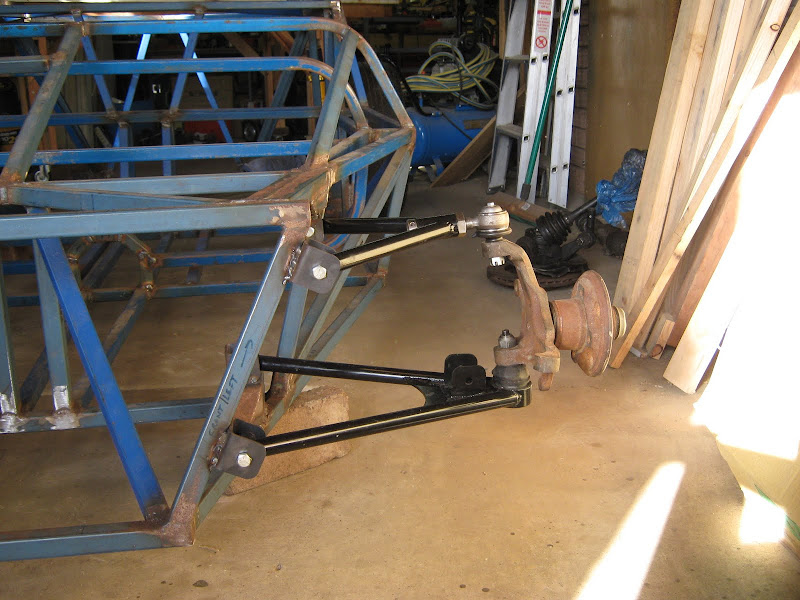
Got some encouragement/assistance from a friend. End result - rear suspension brackets aligned and fully welded.
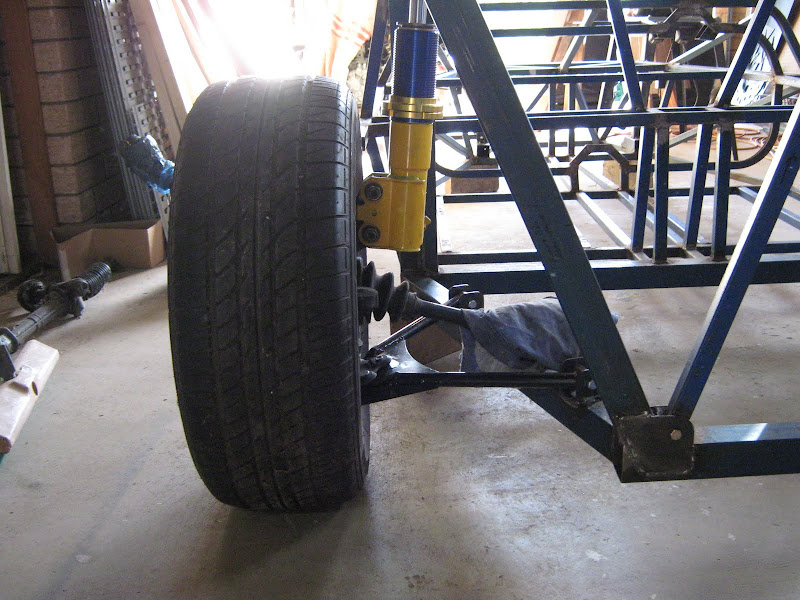

Plus, he helped me flip the chassis over so I could finish some of the underside welds. After they were done, I flipped it back and dragged it off the build table and stuck some front suspension on too.
Don't look too closely at the welding on those brackets. Need grinding out and redoing with the chassis at a more workable angle
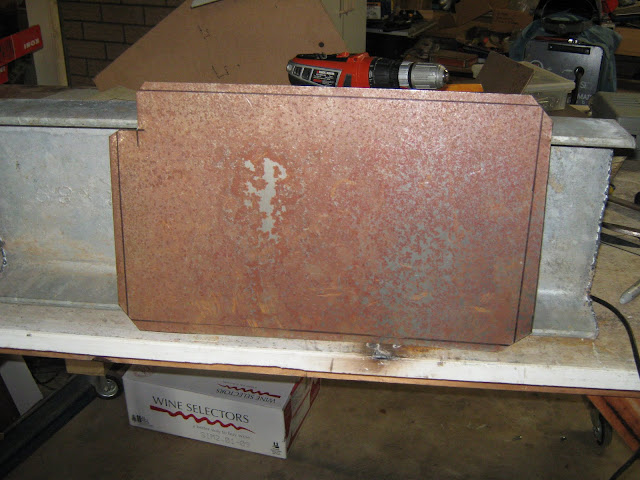
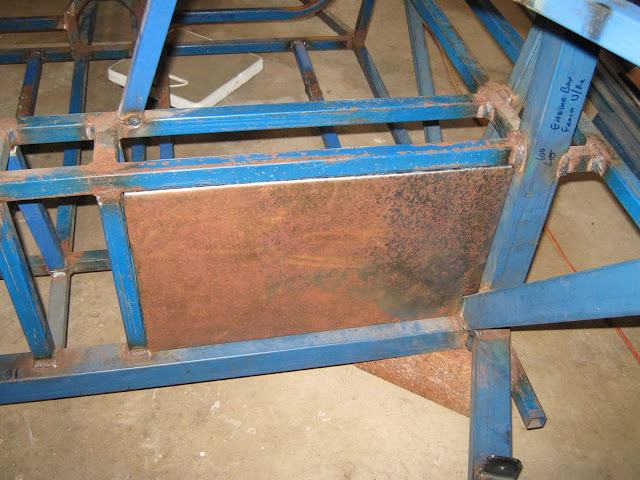
Another friend came around to nudge me forward, with the end result being that we cut, folded, and fitted two of the three fixed firewall panels. Not welded yet. Made from 1mm steel, with a 10mm lip folded round the edge to make welding easier. Would be fair to say the second one was easier and a better result than the first.
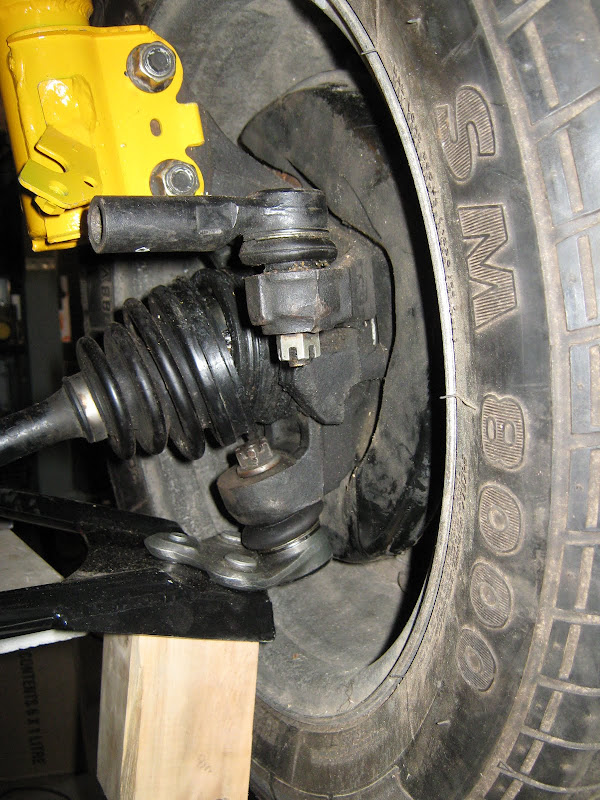
August 2011 - Time for a small update. Unfortunately, discovered that (due to a measurement error) my bottom wishbone brackets are in the wrong place. As a result, with the camber adjusters wound in as far as they'll go, I can get no more than 0 camber. I've been fiddling with other things while stewing on this. In the end, got another set of brackets (thanks Paul) and set to work. Out with the old


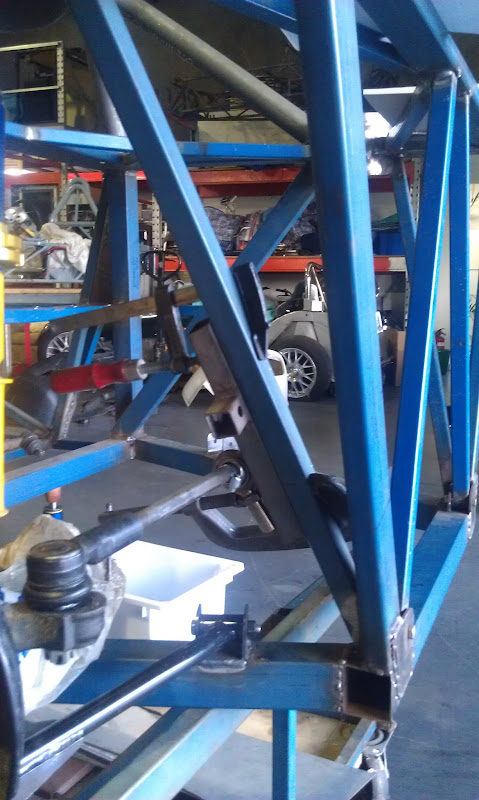
Yet another friend came round to hurry me along and give much needed assistance/guidance on a few areas. Result? Primary roll hoop trimmed to size, base plates made and welded, and roll bar fully welded. Also visible in this photo, the perforated hoop around the dash/scuttle bulkhead is now all welded.

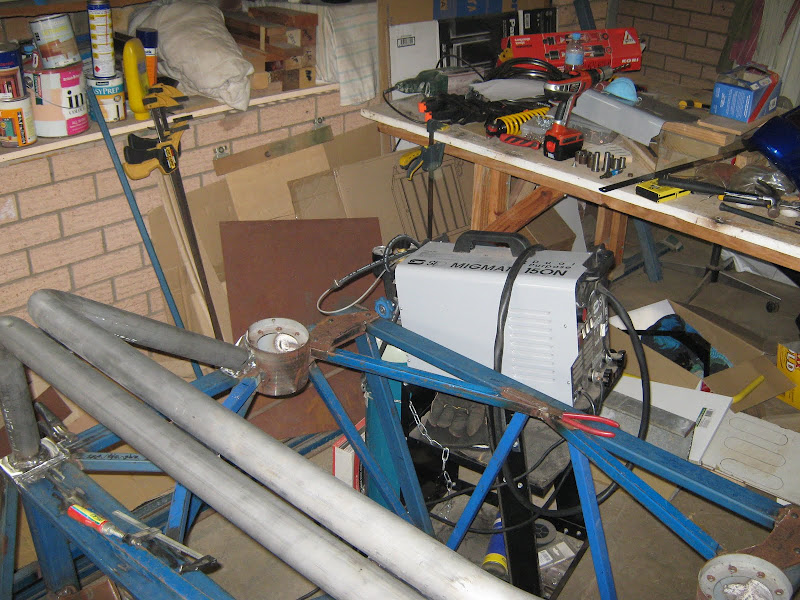
December 2011 - In the pursuit of more progress, the Gecko has taken up temporary residence in a friend's workshop, where I'll work on it but with access to better tools and (much) better expertise than at home. Plan is: knock off work at 3:30 every Tuesday and do 4-odd hours plus other nights and some weekend time as available (and as suits the proprietor).

January 2012 - Have had a couple of bursts of productivity over the last few weeks. Mocked up the position of the inner toe-link mounts at the rear. Used the engine hoist to run the suspension up and down through full travel while checking bump steer. Waiting on some LH female rod ends to arrive now. Will add some pics of the final bracket and adjuster once they're done.

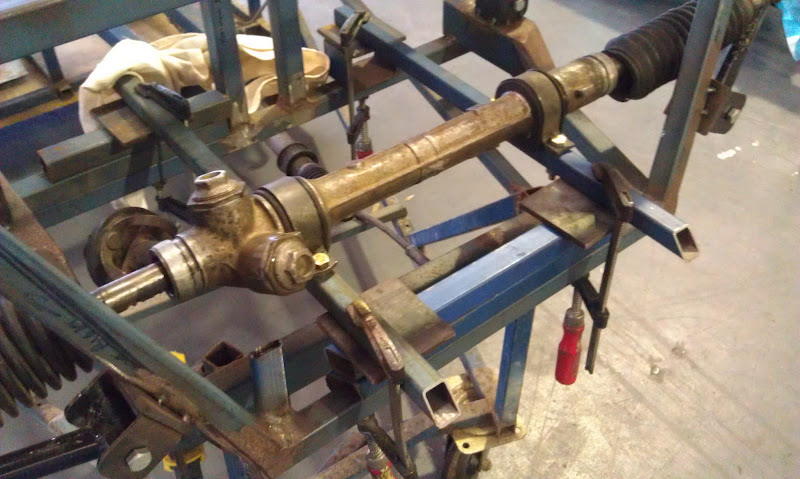
Today was rack positioning. After some faffing about, took the 9" grinder to a pair of diagonal tubes that were in the way. Made things much easier after that. Stuck some temporary rails under the rack and fiddled with various packing pieces until the right position was established. With a small laser pointer strapped to the stub axle (pointing out to the side) total bump steer (all toe-in) was 5mm measured at 3.6m away. That'll do alright. Next step is to mount the column again and find the correct rack angle, then make permanent mounts.

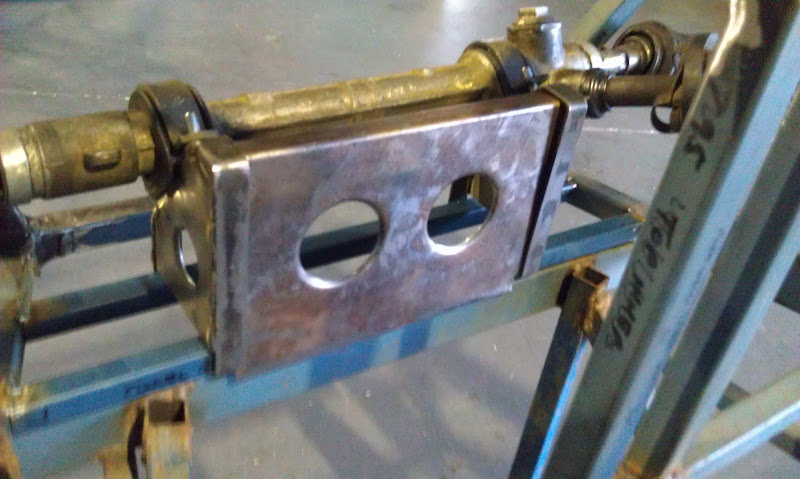
February 2012 - Nnocked out these two rack brackets, which will perch on some light transverse tubes and get a transverse stiffening brace across the back as well. Looks like Gemini and Escort racks share basically identical mounting dimensions so quick-rack upgrades should be a doddle.


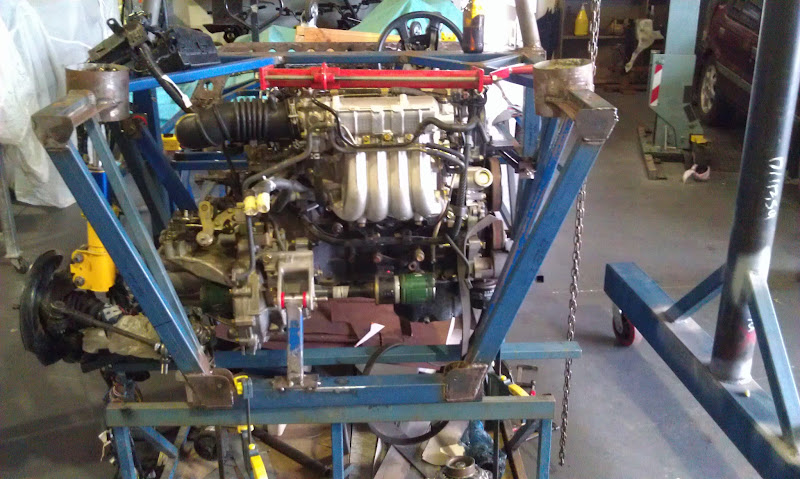
March 2012 - Slow progress because the semester has started and work pressures ramped up accordingly. Still, have managed to twiddle around with engine mounts and got to this point....

OK, knocked all the mounts off the chassis, shifted the front and rear ones to the left by ~70mm, remade the left and right mounts to suit. Done.
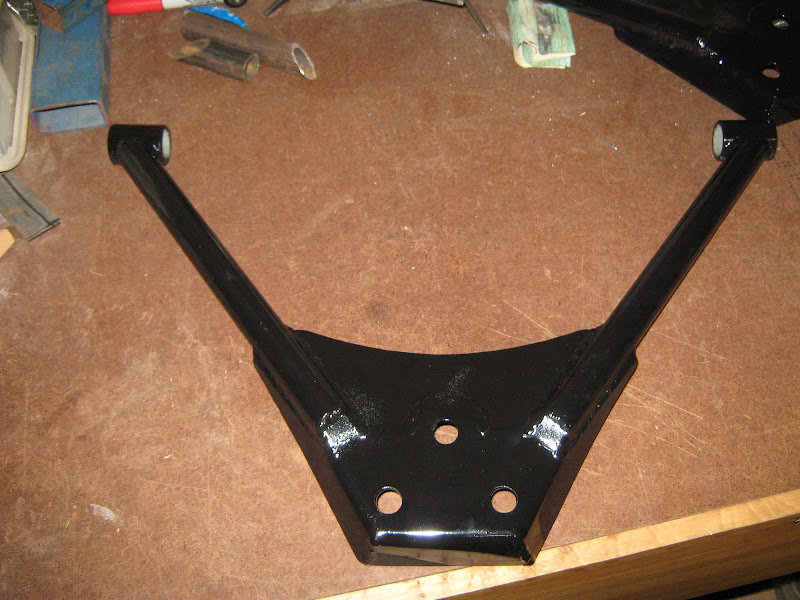
Made some progress towards mounting pedals tonight - nothing worth taking a pic of though. Did do a test fit of an almost completed part (one of a pair) however that was definitely worth photographing!

And that gets us back up to date!